

Before:
Disclaimer: I have included some affiliate links so you can find the products I used and start some projects of your own! They don’t cost you any more, but it gives me a kickback. 🙂
This week I fiiiiinally finished the bed frame I’ve been working on for my son. I thought I could get it done in like a day or two, somehow? I just don’t work that fast. Even when school’s closed, I’ve still got to chase the kids around all day! 😂
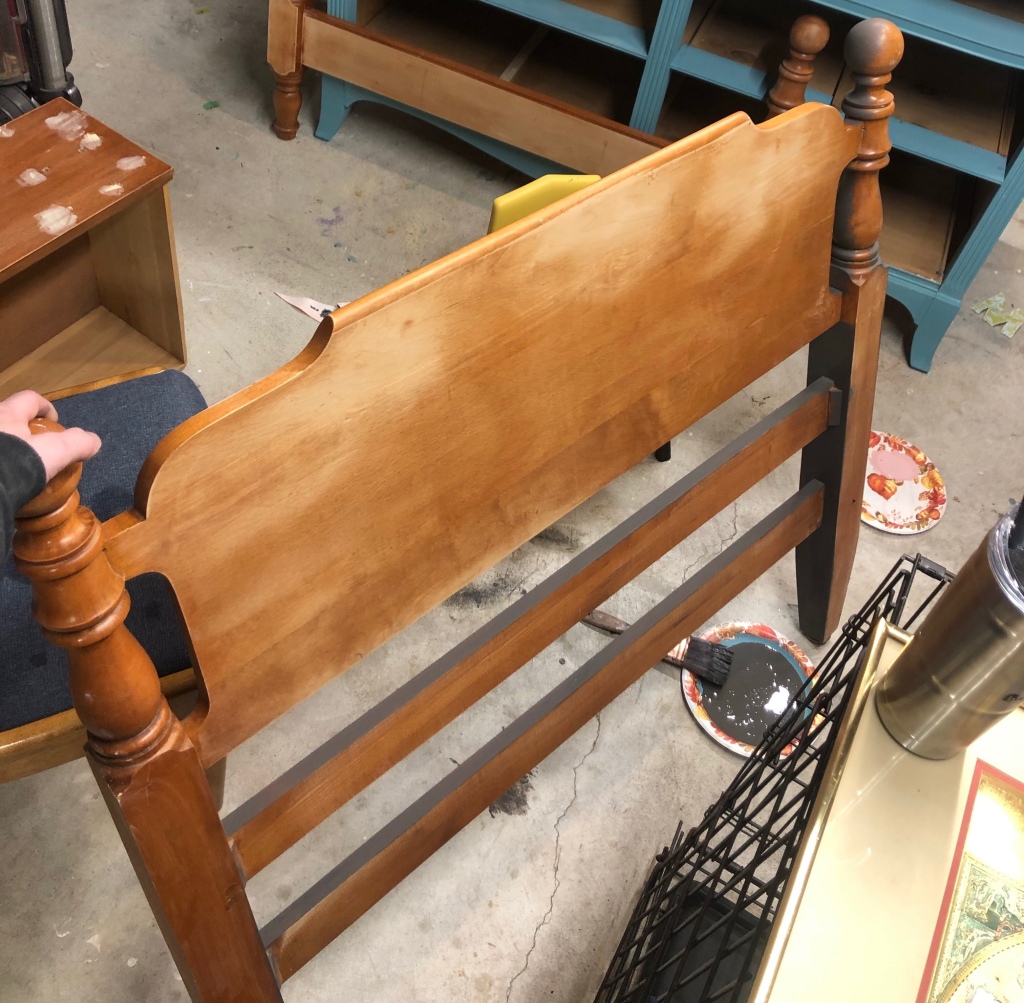
I started by sanding the headboard with 120 grit sandpaper on my orbital sander, just to rough it up a bit. Then I added a layer of Dixie Belle’s Gravel Road, which is a beautiful dark grey/brown, to the whole thing. One of my favorite brushes, besides my Dixie Belle mini angled brush is my 2″ Purdy brush. A good brush makes a huuuuge difference!! You don’t want to be picking paint brush hairs out of your paint every 5 seconds–been there, done that, never again.

This paint is special because I got it sent to me for free from one of my furniture painting muses, Brandy Kollenborn from Brushed by Brandy. (If you haven’t checked out her stuff, you should—she is phenomenal.) It is the paint that made me start loving Dixie Belle! I hadn’t used my Gravel Road much till this project, but when I saw this inspiration pic on Pinterest, I knew gravel road was the way to go.

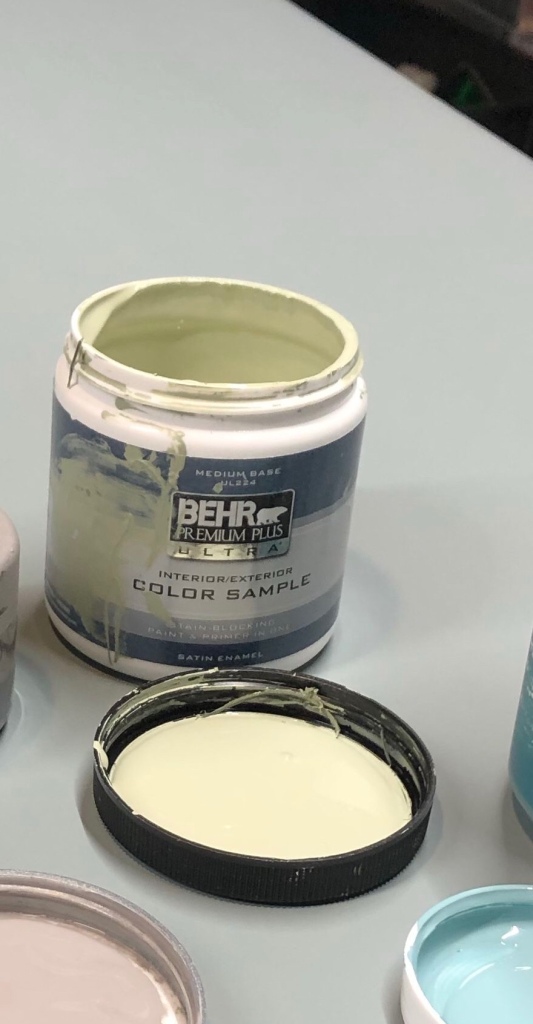
I also knew I’d have to switch gears so I could do the trees in gravel road, too, and kinda have them fade in. So I used a custom mix of gravel road and a green Behr paint sample leftover from when my mother-in-law was picking out a new living room color.
I used Dixie Belle’s Sawmill Gravy for the light color on the top. The gradient or ombré effect is tricky to describe in words. I think the next time I do it, I’ll video how I did it, but basically, I used three brushes to brush the paint onto each section, then I used the grey brush to brush the grey and green together (not necessarily adding more paint, just spraying my brush with water from my mist sprayer, and occasionally misting the headboard) until they were kind of a gradient, then I used the green brush and brushed that into the damp white paint in the same way till it was blended. Till I make a video on this, I’ll add this link to one of my favorite furniture artists, Brandy from Brushed by Brandy, who is the queen of blending.

I eventually fixed the side posts so the blending on them matched the main part of the head board.
Then I watched some Bob Ross for tips on making some “happy little trees!” It took a minute to put brush to board—it looked good and I didn’t want to screw it up!
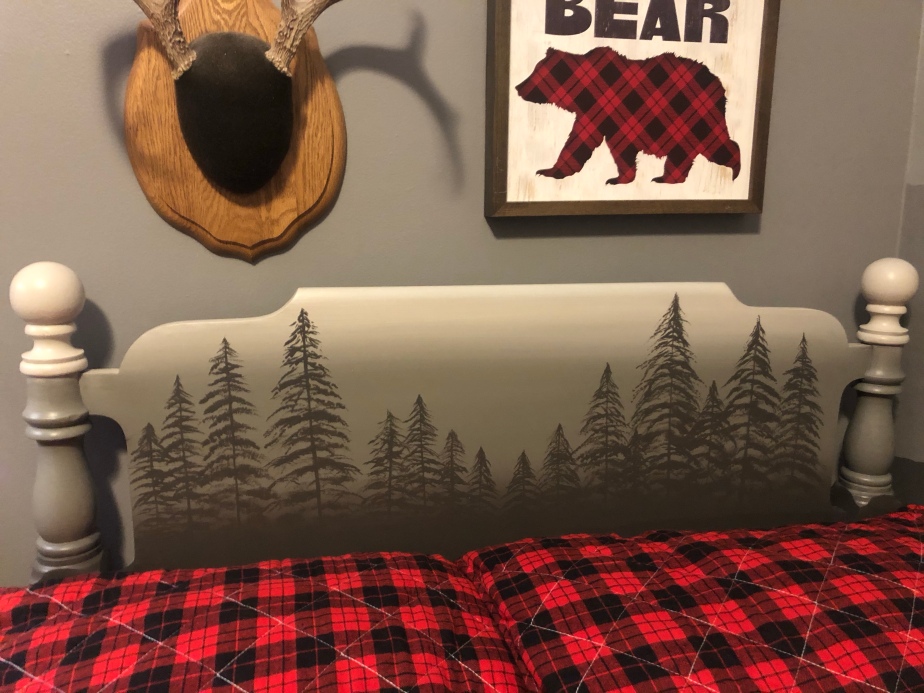
But it turned out great!! And I painted the footboard to match (without the trees), with Gravel Road side rails.
Here’s the Bob Ross video I watched.
And here’s another video on painting trees from an extremely talented furniture artist—Llewelyn from Worn to Whimsy.

Setup:
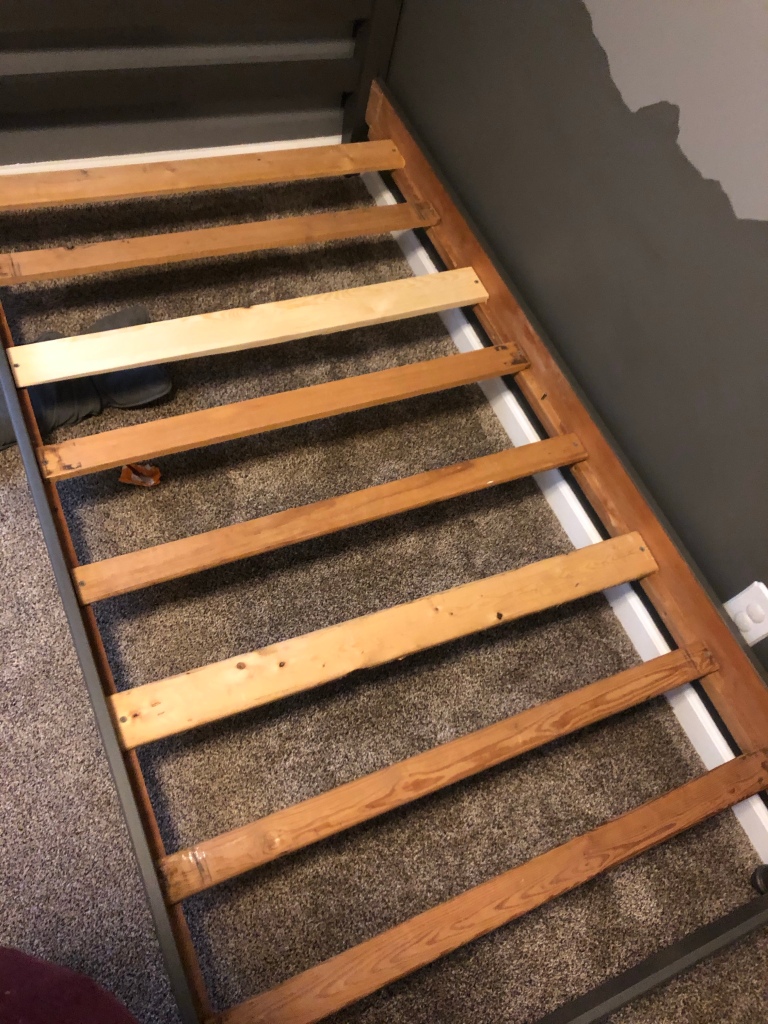
I had to cut a few extra 1×4 boards down to size with my miter saw—there were only 4 boards, which was definitely not enough to support us when we are snuggling the boy to sleep.
After:


My boy was thrilled with it!! My daughter now wants to switch rooms with him. She did snuggle in his room last night. I treasure those moments. 😊
If you like this post, follow me on Facebook, Instagram, and Pinterest @thebelleofthebrush to see all my future projects!
Preview:
You may have missed it, but my next project was in the background of the before picture of this project:
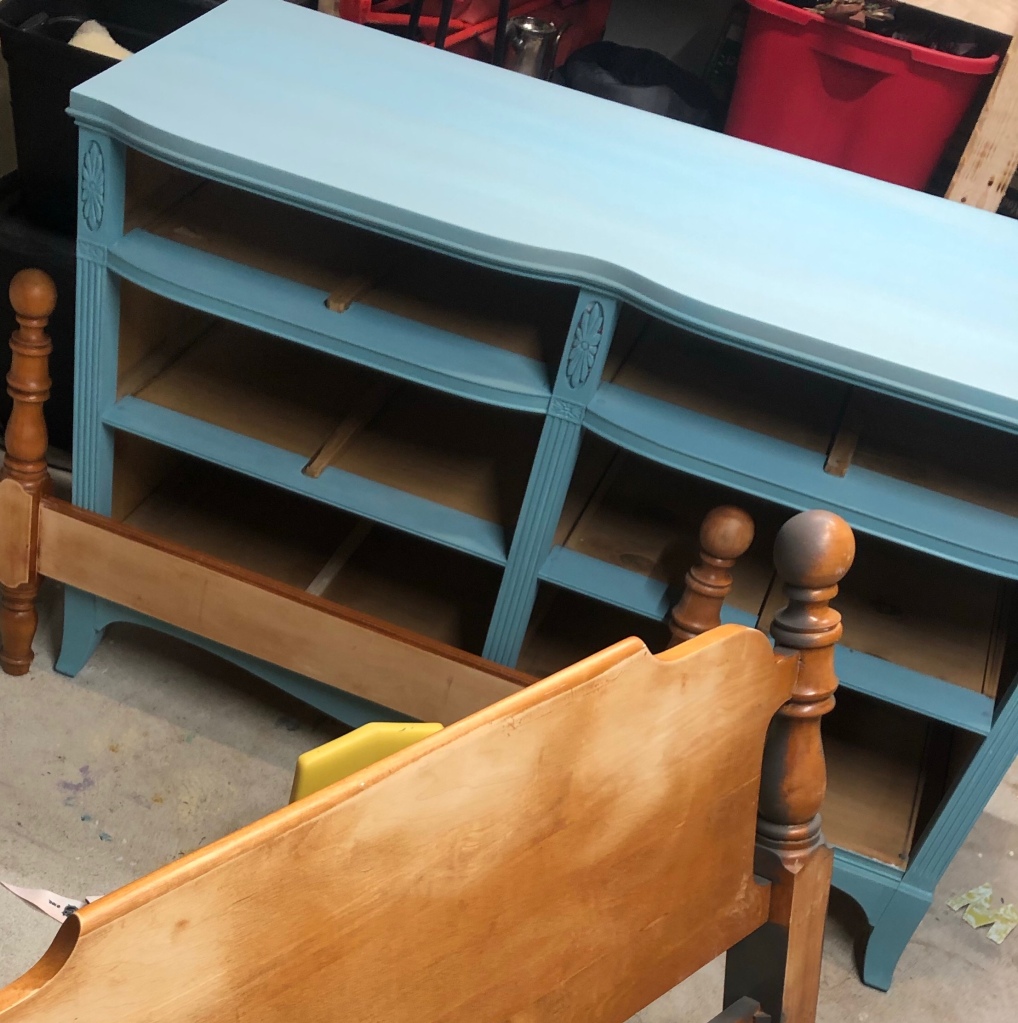
It looks like it’s partly done here, but this is not the color it ended up as! Stay tuned!

Wow, you did a really great job! Congratulations!
You can be very proud!
I am interested in seeing more!
LikeLike
Thank you! I usually try to post once or twice a week, and while I’m home from work, I should have plenty of time for projects!
LikeLike
I love this. We are doing a bear room at camp and this will go along with it. Thanks for the inspiration- if you have step by step of trees can you send it to me. I am not that artsy.
LikeLike
Here’s the Bob Ross video I watched before doing mine. I also started by doing a line for the trunk to begin. Just make sure it starts skinny enough. You can make a trunk fatter, but it’s hard to make it skinnier.
And here’s one by another furniture artist I love: Worn to Whimsy:
LikeLike
Love the bed and the walls! So unique but not overdone. Very nice. Thanks for sharing the videos also.
LikeLike
Thank you!
LikeLike
Great job.l love it.This gave me some ideas for my grandsons room.thanks for sharing.
LikeLike
Thank you, and you’re welcome! 😊 happy decorating!!
LikeLike